


Imagine slicing into a cake layered with ocean-inspired hues of blue, green, and shimmering vanilla. This mermaid birthday cake is a whimsical centerpiece for any under the sea celebration.
Its vibrant colors and playful decorations transform a simple dessert into a magical experience. Perfect for creating unforgettable memories.
What makes mermaid birthday cake special?
- Layers of marbled cake in ocean-inspired shades of blue, green, and vanilla bring a stunning visual appeal.
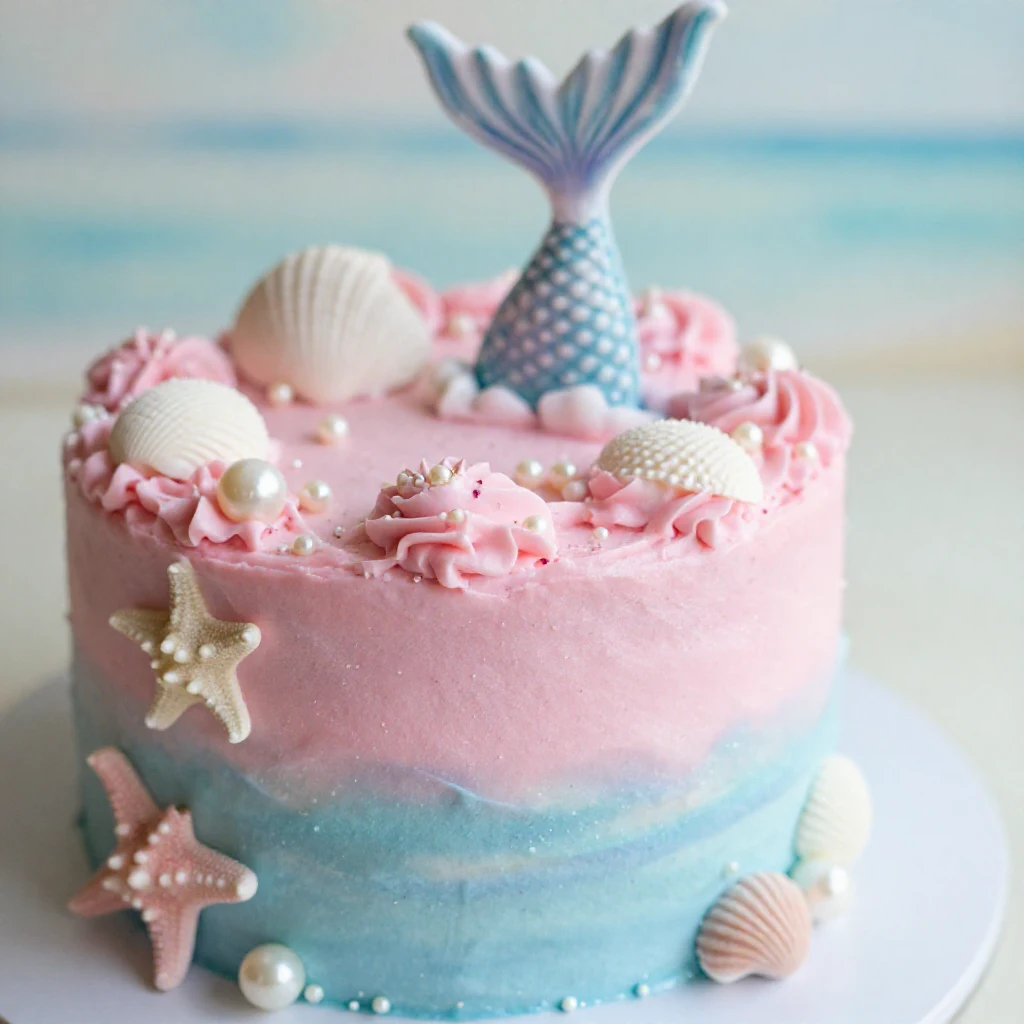
- Decorations like edible glitter, candy seashells, and a mermaid tail topper make it a show-stopping centerpiece.
- Rich buttercream frosting adds a creamy texture and balances the sweetness of the cake.
Key ingredients that bring this cake to life
All-purpose flour forms the base of the cake, creating a sturdy yet tender crumb. It’s essential for achieving the perfect texture in each layer.
Buttercream frosting is the star of the decoration, offering a smooth, spreadable consistency that allows for creative designs and textures. Edible glitter adds sparkle and elevates the magical theme.
How to prepare mermaid birthday cake
Start by preheating your oven to 350°F (175°C) and preparing three 9-inch round cake pans by greasing and flouring them. This prevents sticking and ensures clean layers.
In a medium bowl, whisk together the flour, baking powder, and salt. In a separate large mixing bowl, cream the softened butter and sugar until light and fluffy. Add eggs one at a time, mixing well after each addition, then stir in vanilla extract.
Gradually add the dry ingredients to the wet mixture, alternating with milk, and mix until just combined. Divide the batter evenly into three bowls, coloring one blue, one green, and leaving one plain. Spoon the batters into the prepared pans, creating a marbled effect.
Bake for 25-30 minutes or until a toothpick inserted in the center comes out clean. Cool the cakes in their pans for 10 minutes before transferring them to wire racks to cool completely.
Once cooled, level the tops if needed. Assemble the layers starting with blue, adding buttercream frosting between each. Cover the entire cake with a crumb coat and chill for 30 minutes before frosting with the remaining buttercream.
Decorate with edible glitter, candy seashells, and the mermaid tail topper for a magical finish. The wave-like frosting texture adds an underwater vibe.
How to store and enjoy leftovers
Store the cake in an airtight container in the refrigerator for up to 3 days. Allow it to come to room temperature before serving for the best flavor and texture.
Reheat individual slices in the microwave for a few seconds to soften the frosting if desired.
Ingredient substitutions for flexibility
Swap whole milk for buttermilk to add a slight tang and extra moisture to the cake layers. If you prefer natural coloring, use beetroot powder, matcha, or spirulina for vibrant hues.
For a nut-free option, ensure decorations like candy seashells are certified allergen-free.
Expert tips for a perfect mermaid cake
Use gel food coloring for more vivid tones without altering the batter’s consistency. This ensures the colors pop in each layer.
Chill the crumb-coated cake for at least 30 minutes to make the final frosting process easier and cleaner. It creates a smooth base for decorations.
Plan your decorations ahead of time to ensure a cohesive theme. Arrange candy seashells and starfish strategically for a polished look.

Mermaid Birthday Cake
Ingredients
Method
- Preheat your oven to 350°F (175°C). Grease and flour three 9-inch round cake pans.
- In a medium bowl, whisk together the flour, baking powder, and salt. Set aside.
- In a large mixing bowl, cream the softened butter and sugar together until light and fluffy, about 3-5 minutes.
- Add the eggs one at a time, mixing well after each addition. Stir in the vanilla extract.
- Gradually add the dry ingredients to the wet mixture, alternating with the milk, and mix until just combined.
- Divide the batter evenly into three bowls. Color one bowl with blue food coloring, one with green, and leave one plain.
- Spoon the colored batters into the prepared cake pans, alternating colors and creating a marbled effect.
- Bake in the preheated oven for 25-30 minutes or until a toothpick inserted in the center comes out clean.
- Allow the cakes to cool in the pans for 10 minutes, then transfer to wire racks to cool completely.
- Once cooled, level the tops of the cakes if necessary. Place the blue layer on a serving plate and spread a layer of buttercream frosting on top.
- Add the green layer, top with more frosting, and finish with the plain layer. Cover the entire cake with a thin layer of frosting to create a crumb coat. Chill for 30 minutes.
- Once chilled, frost the cake with the remaining buttercream, using a spatula to create waves and texture.
- Decorate the top with edible glitter, mermaid tail topper, and candy seashells and starfish.
Notes
Loved this recipe? Save it to your favorite Pinterest board so you can easily find it later! ✨