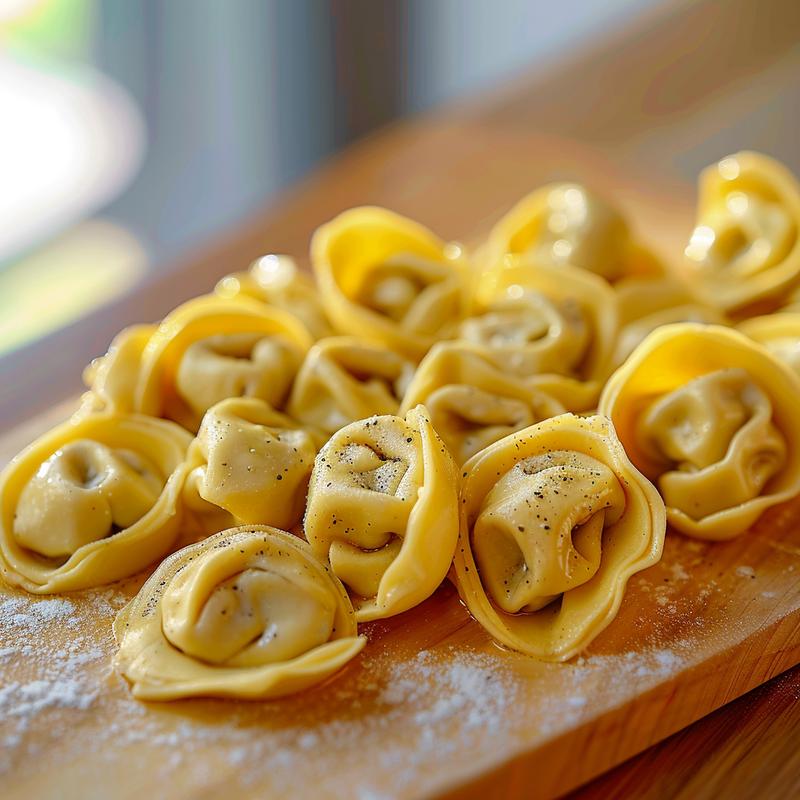
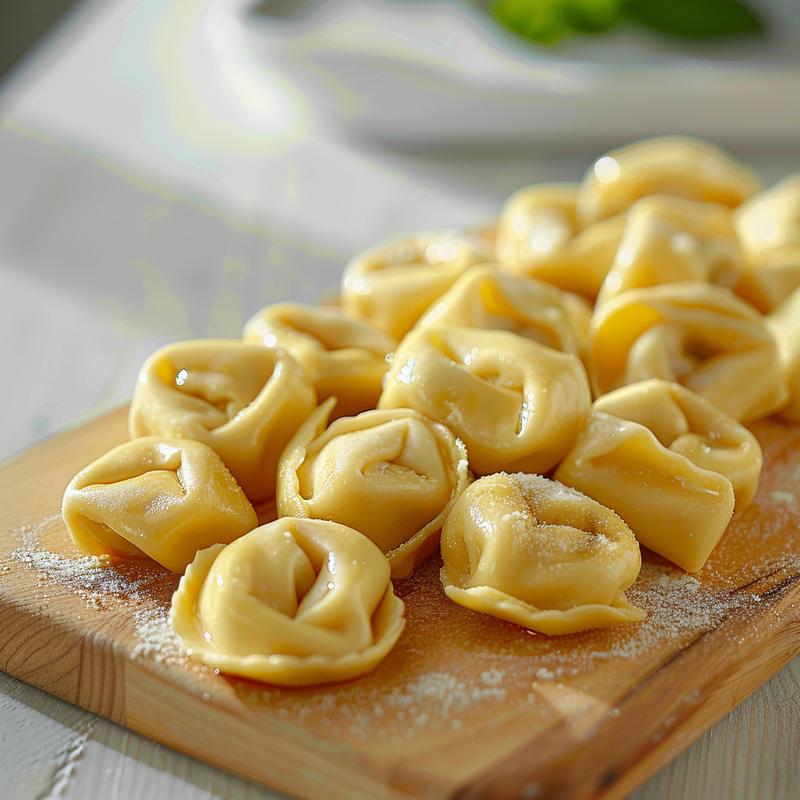
Welcome to the art of crafting homemade tortellini, a cherished tradition that transforms simple ingredients into a masterpiece of flavor and texture. This classic Italian dish requires patience and respect for the process—much like the art of BBQ, where every smoke ring tells a story. In this guide, you’ll not only learn how to make tortellini from scratch, but you’ll also embrace the techniques and love that go into creating each delicate shell. Let’s dive into the world of tortellini, where comfort meets culinary craftsmanship!
Why You’ll Love This Recipe
- Flavorful fillings: This recipe features a rich ricotta and Parmesan filling, enhanced by a hint of nutmeg, ensuring each bite is packed with taste.
- Customizable options: You can easily adapt the filling to suit your palate, whether you prefer a meat filling or a vegetarian option.
- An impressive dish: Perfect for family gatherings or a cozy night in, homemade tortellini is sure to impress your guests and elevate your cooking skills.
- Hands-on experience: Making tortellini from scratch offers a rewarding culinary experience, allowing you to connect with the food you create.
- Tradition and technique: Embrace the rich history of Italian cuisine while honing your pasta-making skills with this time-honored method.
Ingredients You Need to Make Tortellini
Gather the following ingredients to create your homemade tortellini:
- 2 cups all-purpose flour: The foundation of your pasta, giving it structure and texture.
- 3 large eggs: Essential for binding the dough and adding richness.
- 1/2 teaspoon salt: Enhances the flavor of both the dough and filling.
- 1 cup ricotta cheese: Provides a creamy, luscious filling.
- 1/2 cup grated Parmesan cheese: Adds depth and a savory note to the filling.
- 1/2 teaspoon black pepper: A touch of warmth to the flavor profile.
- 1/4 teaspoon nutmeg: A classic spice that elevates the filling’s taste.
- 1 tablespoon olive oil: Helps with the dough’s texture and flavor.
- Water, as needed: To adjust the dough consistency.
Pro Tips for Perfect Tortellini
- Use fresh ingredients: Fresh pasta and quality cheeses will make a noticeable difference in flavor.
- Rest the dough: Allowing the dough to rest for at least 30 minutes makes it easier to roll out.
- Roll thinly: Aim for pasta sheets that are about 1/16 of an inch thick for the best texture.
- Seal tightly: When shaping your tortellini, ensure all edges are sealed to prevent the filling from leaking during cooking.
- Cook in batches: Avoid crowding the pot when boiling tortellini to ensure even cooking.
- Experiment with fillings: Don’t be afraid to try different meat or vegetable fillings to create your signature dish.
- Serve immediately: Tortellini are best enjoyed fresh; if storing, be sure to follow proper guidelines.
- Use a pasta machine: If you have one, it can make rolling the dough easier and more consistent.
Common Mistakes and Troubleshooting
Even seasoned cooks can run into issues when making tortellini. Here are some common pitfalls and how to avoid them:
- Dough too dry: If your dough is crumbly, add a teaspoon of water or olive oil and knead until smooth.
- Dough too sticky: Dust your work surface and rolling pin with flour to prevent sticking while rolling out the dough.
- Filling leaks during cooking: Ensure that you’ve sealed the edges of your tortellini tightly, pressing out any air pockets.
- Overcooked tortellini: Keep an eye on them; once they float, they’re typically done in just a few minutes.
Variations of Tortellini
Get creative with your tortellini by trying out these variations:
- Meat-filled tortellini: Substitute the ricotta with ground meats like beef, pork, or chicken mixed with herbs and spices.
- Vegetable tortellini: Use finely chopped spinach, mushrooms, or butternut squash for a delicious vegetarian option.
- Seafood tortellini: Incorporate shrimp or crab meat into the filling for a luxurious touch.
- Herbed tortellini: Add fresh herbs like basil or parsley to the dough for added flavor.
Storage and Make-Ahead Instructions
Planning ahead? Here’s how to store your tortellini:
- Refrigerator: Fresh tortellini can be stored in an airtight container in the refrigerator for up to 2 days.
- Freezer: To freeze, place uncooked tortellini on a baking sheet in a single layer until frozen. Once solid, transfer to a freezer bag for up to 3 months.
- Make ahead: You can prepare the filling and dough a day in advance. Just ensure you keep them properly wrapped in the fridge.
Comprehensive FAQ
Here are some frequently asked questions about making tortellini:
- Can I use whole wheat flour?: Yes, whole wheat flour can be used, but it may alter the texture slightly.
- How do I know when tortellini are done?: They are done when they float to the surface of the boiling water, usually within 3-4 minutes.
- Can I use store-bought pasta?: While you can, homemade pasta truly takes the dish to another level.
- What sauces pair well with tortellini?: Marinara, Alfredo, or a simple butter and sage sauce are all excellent choices.
- How can I keep tortellini from sticking together?: Dust them with flour before storing or cooking to prevent sticking.
- Is tortellini gluten-free?: Traditional tortellini is not gluten-free, but you can use gluten-free flour blends to make a suitable dough.
- Can I cook tortellini directly from frozen?: Absolutely! Just add a couple of extra minutes to the cooking time.
- What’s the best way to reheat leftover tortellini?: Gently reheat them in a skillet with a bit of sauce; avoid boiling them to maintain texture.
Nutrition Tips and Dietary Adaptations
For those conscious about their diet, consider these adaptations:
- Low-carb option: Substitute flour with almond flour or a cauliflower-based dough.
- Dairy-free filling: Use cashew cream or tofu as a base for a dairy-free filling.
- Protein boost: Add cooked lentils or beans to the filling for a plant-based protein source.
Equipment Recommendations
Ensure you have the right tools for your tortellini-making journey:
- Pasta machine: For consistent thickness in your dough.
- Rolling pin: If you don’t have a pasta machine, a good rolling pin is essential.
- Sharp knife or pasta cutter: For cutting dough into squares.
- Spatula: For transferring tortellini without damaging them.
Serving Suggestions
Once your tortellini is cooked, serve them with:
- Classic marinara sauce: A timeless choice that perfectly complements the flavors of the tortellini.
- Brown butter and sage: A simple yet elegant sauce that enhances the nutty flavors.
- Fresh herbs: Garnish with basil or parsley for a pop of color and freshness.
Conclusion
Crafting authentic homemade tortellini is not just a cooking task; it’s a journey steeped in tradition and love. With each step—from preparing the dough to shaping those delicate shells—you’re not only creating a dish but also forging memories. Embrace the process, gather your loved ones, and turn your kitchen into a haven of culinary joy. Remember, great things take time. So, gather your ingredients, roll up your sleeves, and let’s get smoking—no, wait, let’s get cooking!

Homemade Tortellini
Ingredients
Method
- Mix flour and salt, add eggs, and knead into a smooth dough. Rest for 30 minutes.
- Prepare filling by mixing ricotta, Parmesan, pepper, and nutmeg.
- Roll out dough thinly, cut into 3-inch squares, add filling, and seal into tortellini shapes.
- Boil in salted water for 3-4 minutes until they float, then drain.
- Serve with your favorite sauce.
Notes
Loved this recipe? Save it to your favorite Pinterest board so you can easily find it later! ✨